
So, what is tiling?
Get ready to slide in your socks Risky Business style
Ready to get a little fancy?Tiles are FINALLY getting recognised for the interior genius that they are, and we couldn’t be happier. Once you reach the tiling stage of your remarkable home journey, you’ll be totally floored (see what we did there?) by the number of selections and the mood, vibe, and style they can bring to your home. Is it cliché to mention The Block at this point? Who cares. You’ll be feeling that contestant energy the second someone says “Herringbone pattern.”
The tile style for your remarkable home
When it comes to tile styles, customisation is everything.
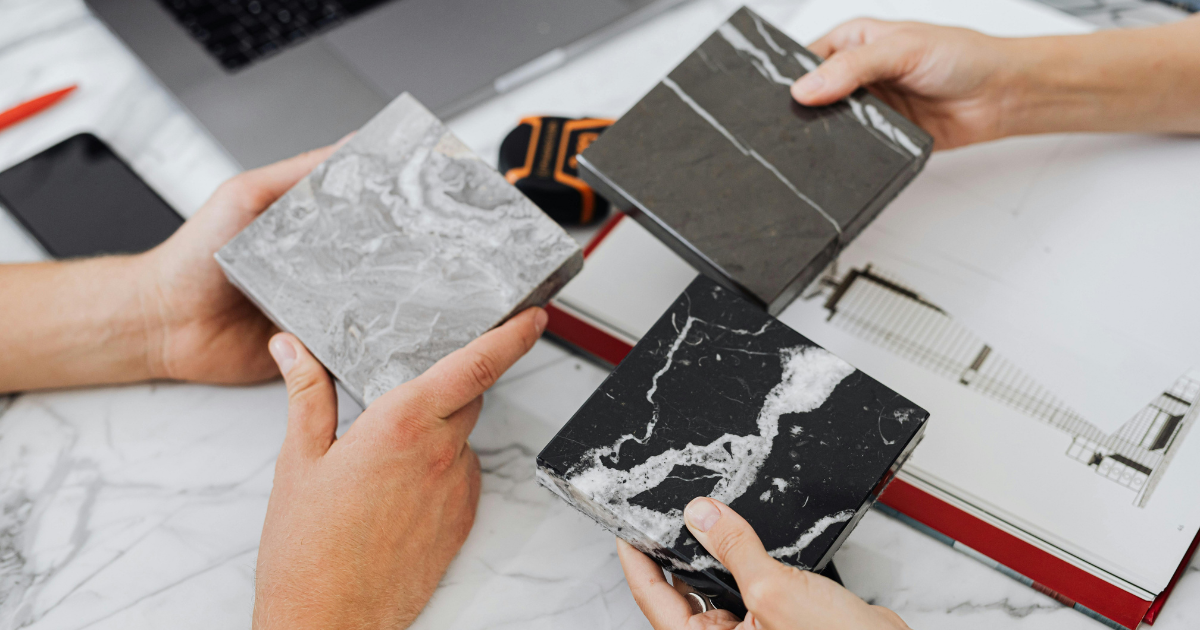
You could opt for the striking and timeless Herringbone pattern, where slim rectangular tiles are laid at a 45-degree angle. Or maybe the vertical brick bond, which uses larger tiles and minimal grout lines to make your space feel bigger. Then there’s the horizontal stack, where tiles are laid in clean straight lines to create a sleek, modern grid. Tiling is a big design decision, so make sure you tap into Sophie’s advice during your one-on-one interior design consultation to get the look just right.
Once the decision is made…
After a dreamy visit to our trusted tile suppliers during your prestart stage, your tiles will be ordered and prepared for installation. We partner with reputable suppliers who offer high-quality tiles, great design ranges, and reliable service, because when it comes to finishes like tiles, quality really matters. Once everything arrives on site, the tilers get to work laying your tiles with precision.
How far can you take this whole tiling thing?
Technically, you could tile almost anywhere in your house.
(Though we’d probably recommend a little variety.)
Tiles are most commonly installed in wet areas, including:
- Bathrooms
- Shower recesses
- Bath areas
- Laundries
These spaces benefit most from tiles because they’re durable, water resistant, and easy to clean.
For the super-tiling fans (yes, they do exist)
For the rest of you… feel free to skip ahead.
Still here? We admire the dedication.
Installing tiles is a three-step process involving a little bit of patience, a little bit of precision, and a whole lot of appreciation for the finished result.
Kind of like watching the perfect meal come together.
Even better when you’re not the one cooking (or doing the dishes).
1. Waterproofing the area
First, we apply a waterproofing membrane.
This step is absolutely essential in wet areas to prevent leaks and protect against mould or water damage.
The membrane is applied and then left to cure for a couple of days to ensure it sets properly.
If you’ve already been through the slab stage of the build, this concept will sound pretty familiar.
2. Installing the tiles
Once the waterproofing has dried, the tiler applies a layer of tile adhesive to the surface.
The tiles are then carefully placed and aligned using spacers to ensure even grout lines and a flawless finish.
Sophie wouldn’t have it any other way. After installation, the tiles need a little time to set. So as tempting as it may be… try not to walk on them just yet.
3. Grouting and finishing
Once the tiles are set, the spacers are removed and grout is applied between the tiles.
The grout colour is selected to complement your tile choice and overall interior style.
This final stage adds durability, improves waterproofing, and completes the polished look of your wet areas.
Ta-da!
Once the tiling is complete, your bathrooms, laundry, and wet areas start looking seriously impressive.
It’s one of those moments where your design choices really begin to shine, and your personal style starts appearing throughout your new home.
And trust us…
It suits you perfectly.


